 Building a Nativity Stable
The fold up cedar stable I purchased for my Nativity Scene showed great signs of wear after about five years of service, thus I began considering building a replacment that would prove more durable.
While surfing the forums at PlanetChristmas, I found someone had posted a link for some free creche plans. However the dimensions of it were huge (over five feet wide). Thus I adapted the plans I found (but are no longer online) to suit my needs.
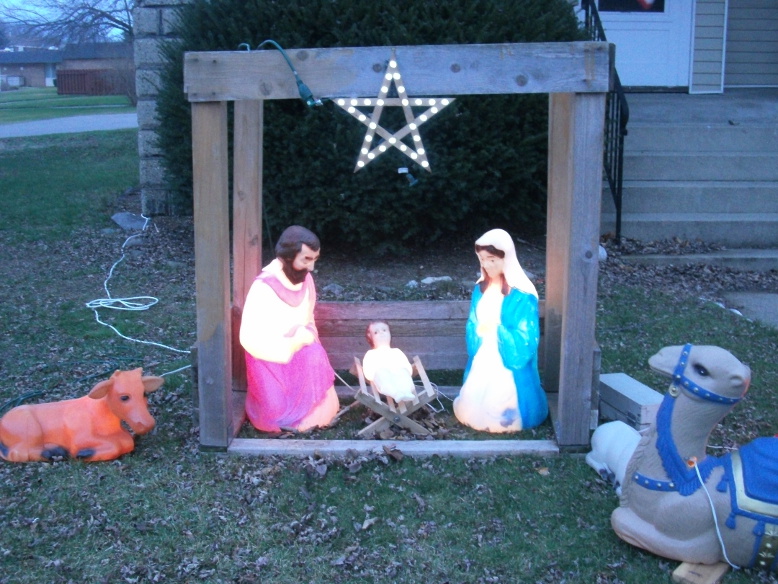
Built from cedar, my stable is four feet wide and two feet deep. This allows Mary, Joseph and
Jesus to fit inside. The height is four feet. While it looks like it should be shorter, I
picked this height on the consideration if Mary and Joseph were Astanding.
Lumber needed
- (2) 4x4x8 cedar
- (3) 1x3x8 cedar
- (2) 2x4x8 cedar or (1) 2x4x12 cedar
- (1) 1x6x8 cedar
Non lumber materials needed
- (4) corner irons
- (4) 4x4 post brackets
- (50) #8 x 1 1/4 flat head wood screws
- (100) 6d Nails
- (1) 1/2 x 10 PVC electrical conduit
- (5) metal single gang outdoor junction boxes with half inch threaded holes
- (4) duplex outlets
- (4) single gang outdoor outlet covers (horizontal)
- (1) inlet* (usually has an integrated cover)
- (8) 1/2 PVC male adapters
- 14 gauge solid wire (in black, white and green)
*an inlet is an outlet with prongs that the female end of an extension cord can put into. They are common on the outside of RVs and travel trailers.
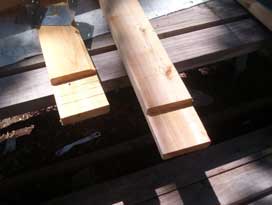
Cutting directions
DISCLAIMERThe cutting involves using a table saw. Be sure to undertand how to use a table saw safely before proceeding.
- Cut both 2x4x8s into three pieces. One will be 48 inches long and the to other two will each be 24 inches long. (if you want to substitute a 12 foot board here you may but remember to allow for the width of the saw blade). Two 48 inch pieces and two 24 inch pieces will form the base.
- Cut both 4x4x96 in half so they are 48 inches long. These will support the roof.
- Cut each 1x3x8 into one 48 inch piece and two 24 inch pieces.
- Cut the 1x6x8 into one 48 inch piece and two 24 inch pieces.
- Rabbet joint the 2x4s so each board has a rabbet that is the width of the board (approximately 3 1/2 inches) and one half the thickness (approximately 7/8 of an inch). Rabbet the same side of each board. A dado head will be reduce how many passes you must make over the blade.
Assembly
Place
the 48 inch pieces of 2x4 rabbet side up. Now place the 24 inch pieces of 2x4 rabbet side
down so the pieces form a rectangle. Secure with screws.
Flip the base over and place an L bracket across each joint. This will reinforce the rabbet joint as the 4x4s will be top heavy until they are based.

Turn
the base back over and place a 4x4 post bracket
on each corner and secure with screws.
Place a 48 inch 4x4 into each post bracket and secure with screws.
Secure the 4x4s into place by nailing the pieces of 1x6 into place at the top. The back does not receive a piece.
Using
the top of each post bracket as a guide, nail the
1x3s into place. The front is left open. Stack each row immediately on top of the one beneath it.
The gap at the bottom provides a place to run cords.
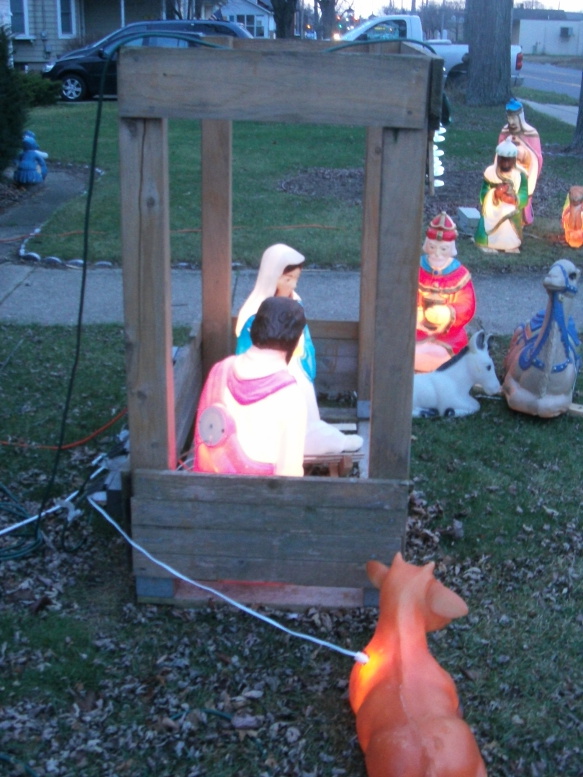
Basic assembly is complete. It does not have a roof. The reason for this is so you can flip the stable over and carry it on your shoulders for set-up and take down. I plan to add a roof in time and will ammend this page when that happens.
Electrical
DisclaimerThis section could be hazardous. Please understand how electricity works before proceeding.
Cut the piece of conduit into four sections each six inches long. (if you can find a 5 foot piece of conduit or are able to buy it by the foot, go ahead.)
Place a male adapter onto both horizontal ends of three of the junction boxes and one end of each of the other two boxes. Plug any unused holes with plugs supplied.
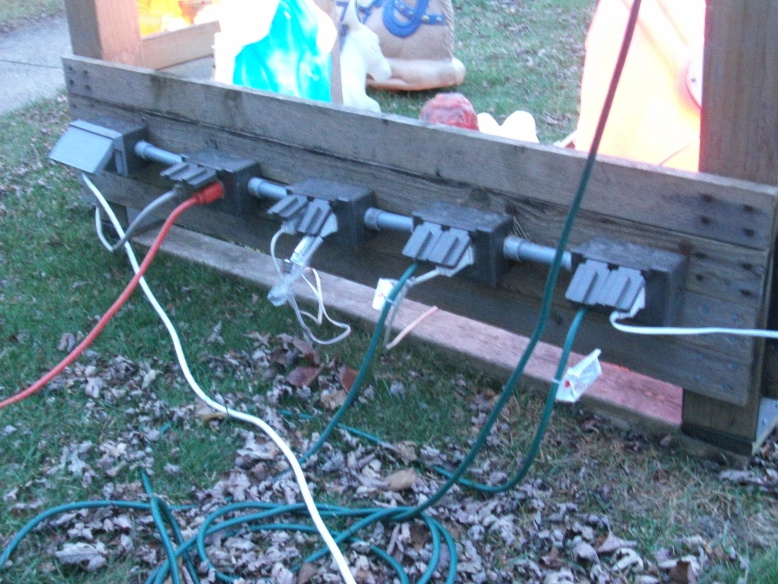
Assemble
the boxes onto the pieces of conduit and secure
to the back wall.
Run three strands of wire between each box (one of each color).
Make the hookups to the outlets. Put the inlet on one end-preferrably on the end nearest to where the extension cord will plug in.
Secure outlets into box and install covers.